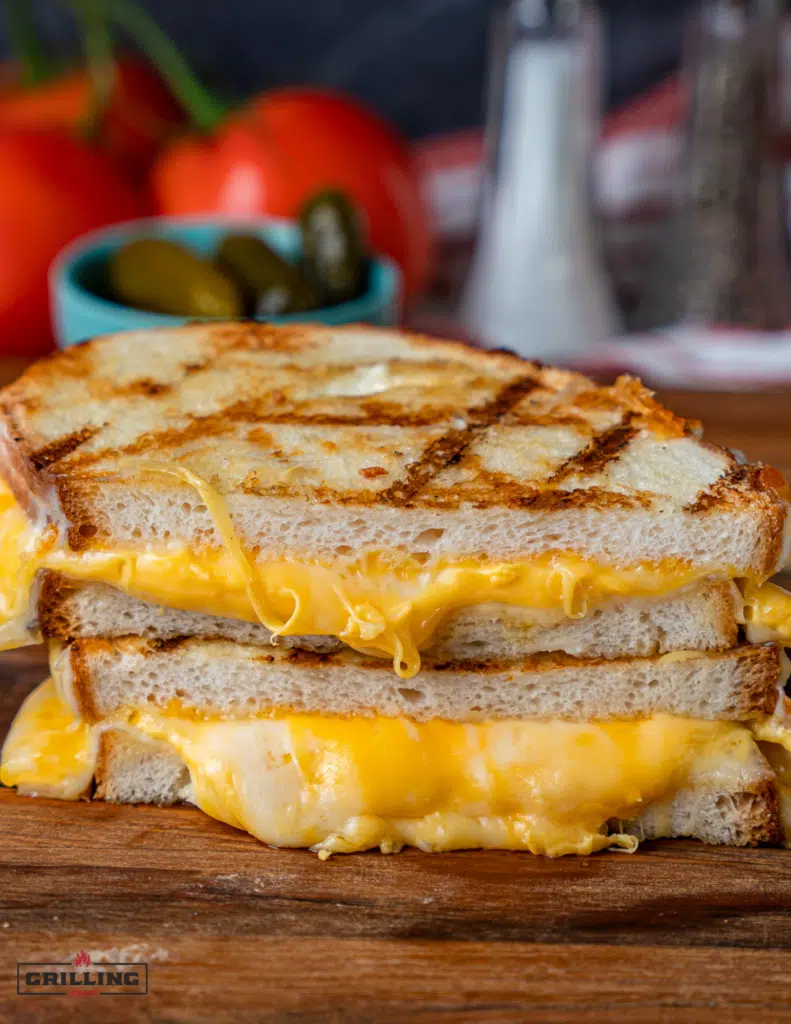
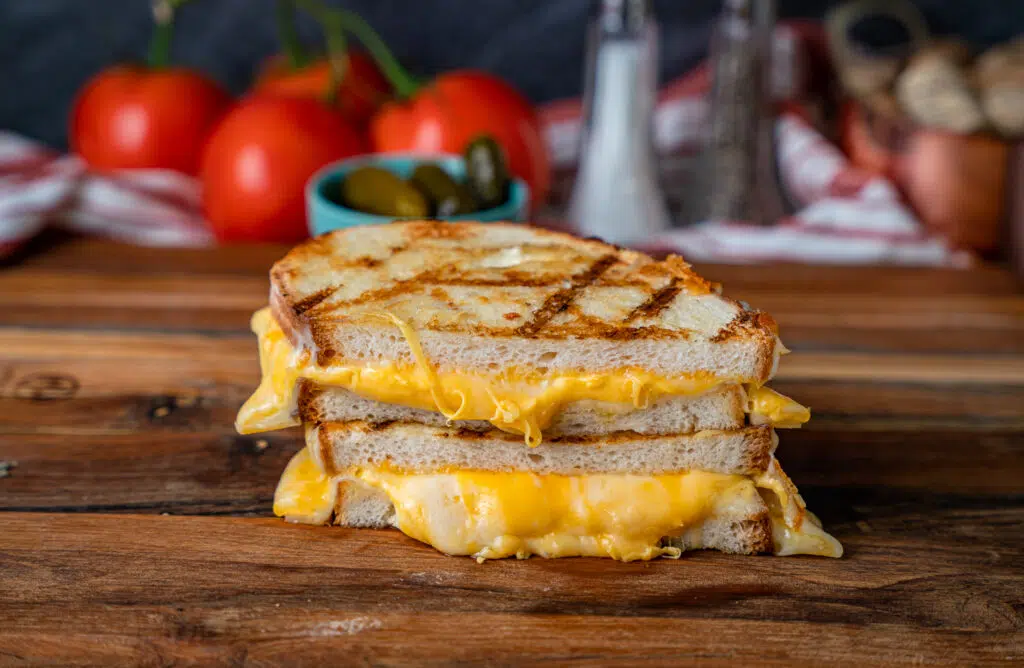
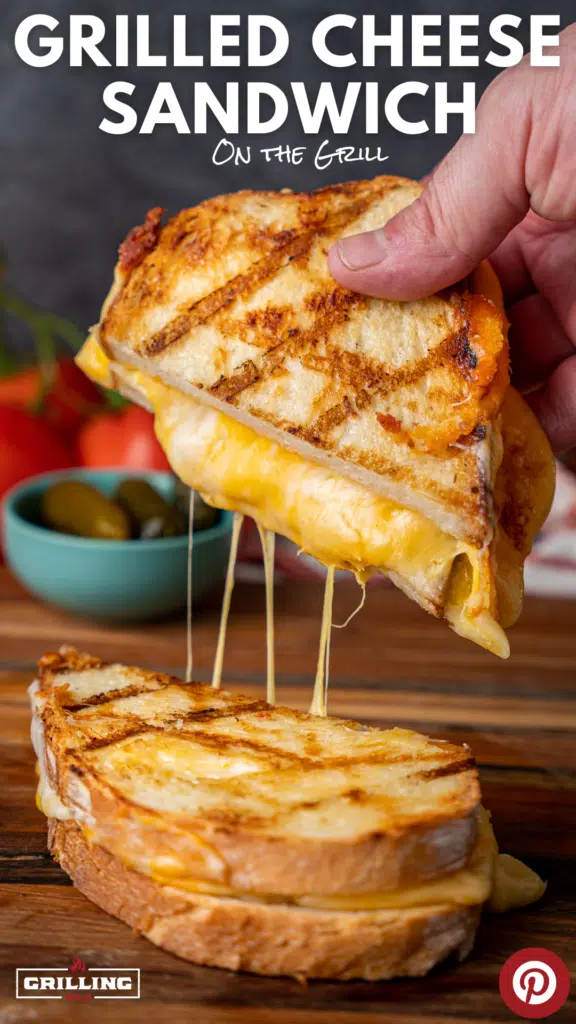
Grilled Cheese on a Grill
This is your sign to make your next grilled cheese on the grill. There is no better way to make a grilled cheese; you will undoubtedly agree after you try it.
This is a fantastic method for making multiple grilled cheese sandwiches for a group because you can use the entire grill. Think of how great some fancy grilled cheese sandwiches with tomato soup would be on a cold Sunday before the football game!!
Why should you make a grilled cheese on the grill?
Here is my pitch on why making a grilled cheese on the grill makes sense.
- Less mess: You don’t need to dirty up your stove or a pan. You can just grill it outside and eat.
- Better Flavor: We can all agree that food tastes better off the grill. That subtle char flavor will take this simple grilled cheese up a notch.
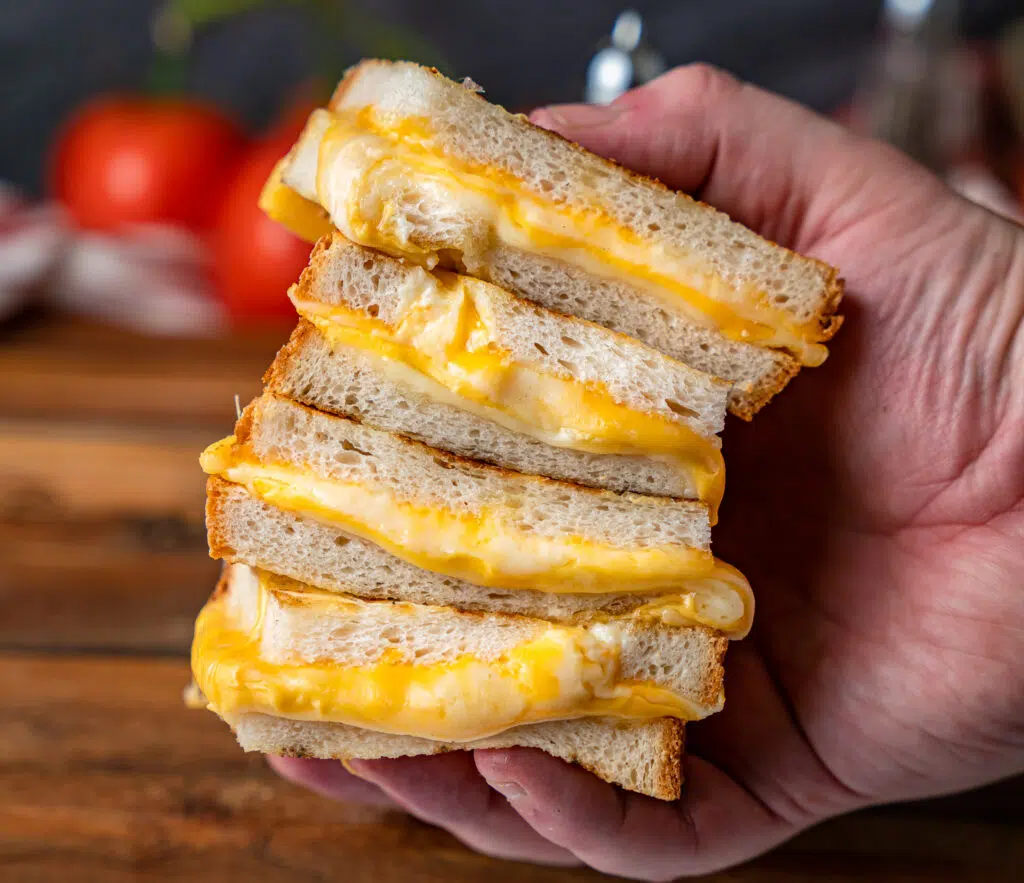
- Making more than one: You can only make one or two at a time in a pan, whereas on a grill, you can make 8-10 at the same time.
- Bonus: Grill marks are Sexy!! I rest my case.
Ingredients List
- Bread: Choose a sturdy loaf of Italian bread. Head to the bakery section of your grocery store and pick up artisan Italian bread. You want it to be sturdy so that it doesn’t char and burn, unlike a generic loaf of white bread.
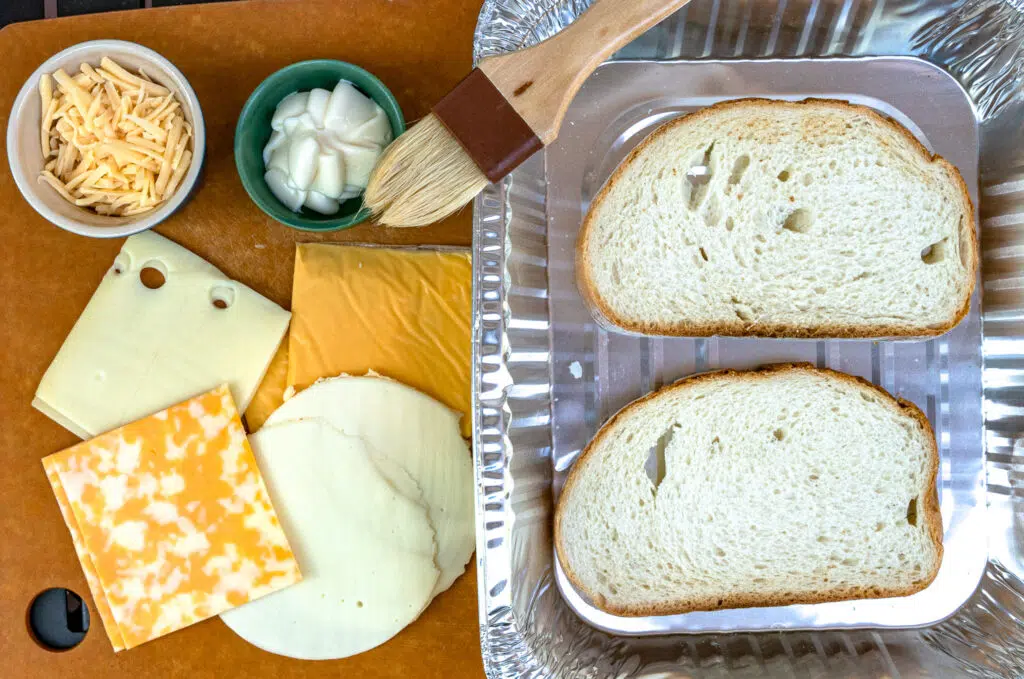
- Cheese: For this recipe, I used Monterey Jack and habanero cheddar. These cheeses complement each other well and have a touch of spice.
Note: You can choose your favorite cheeses for this recipe as well. - Butter or mayo: For the outside of the bread.
Ingredient Tips
Bread: I went to the bakery section of my grocery store and got a nice round Italian bread loaf. You want to use a real sturdy piece of bread for this so it holds up to the heat and flipping. In other words, don’t break out the generic white bread for this recipe.
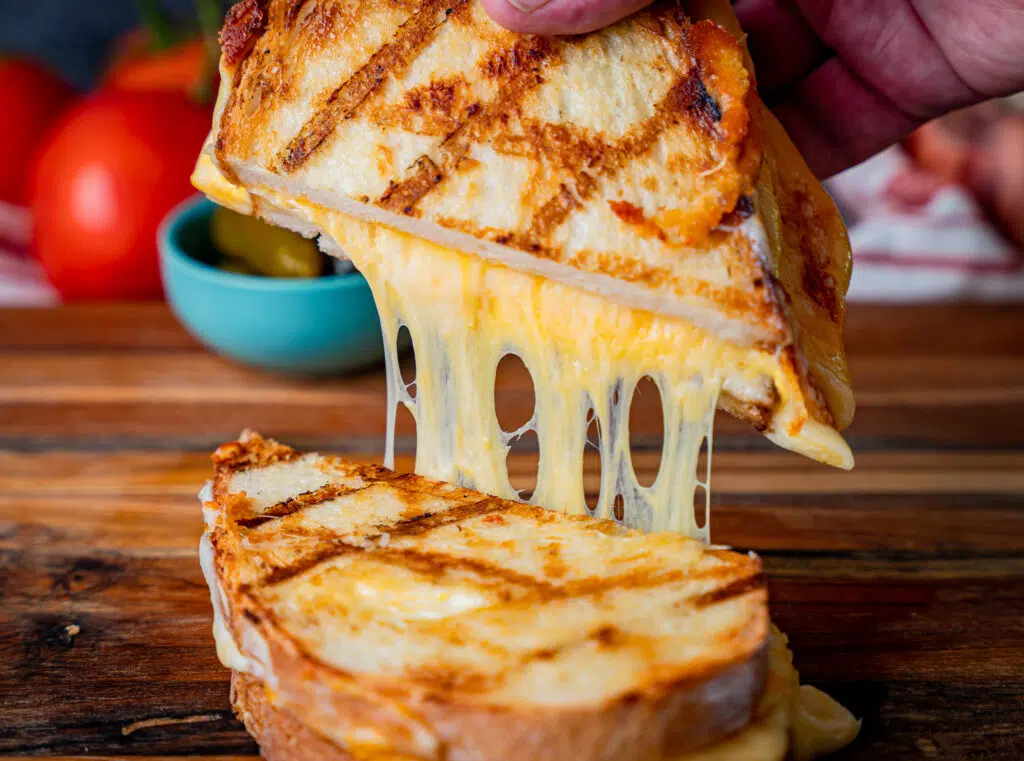
Cheese: I’m going to use two types of cheese here. I want to incorporate Monterey jack cheese with the habanero cheddar to not only reduce some of the spice but also add a nice melting, oozing consistency; I love how Monterey jack cheese melts.
Recipe Instructions
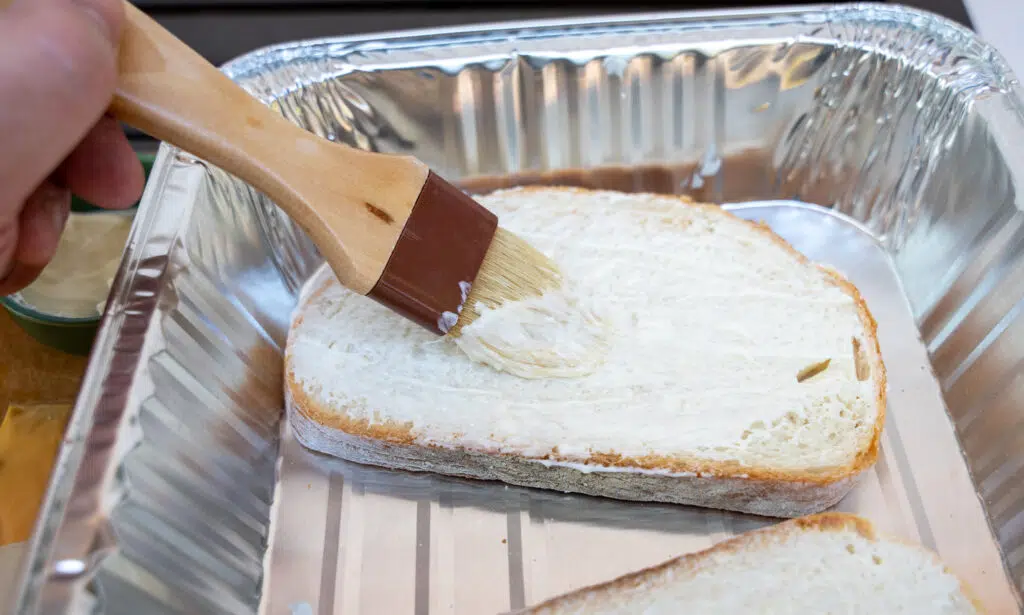
- Sandwich assembly: Brush the outside of your bread with butter or mayo. Then, stack all of your cheese on each slice of bread.
- Preheat: Light the grill to low heat, about 375-400 degrees F. Hold your hand 1 inch over the grate and comfortably count to at least 5.
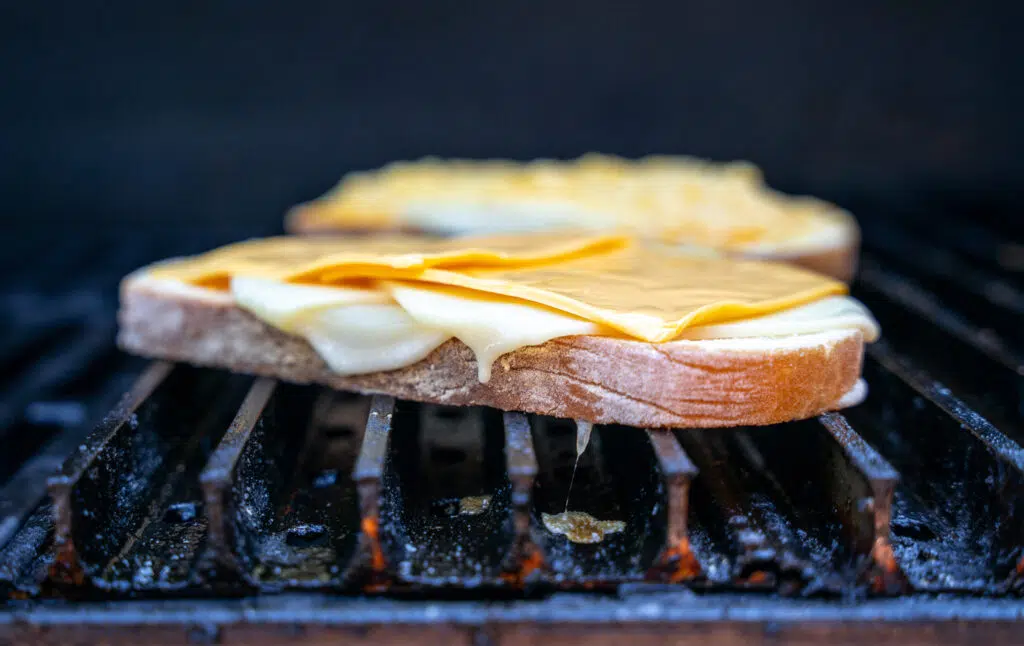
- Cook time. Lay your assembled sandwich on the grill over direct heat and cook for about 1 minute. Rotate the bread a quarter turn to get those grill marks.
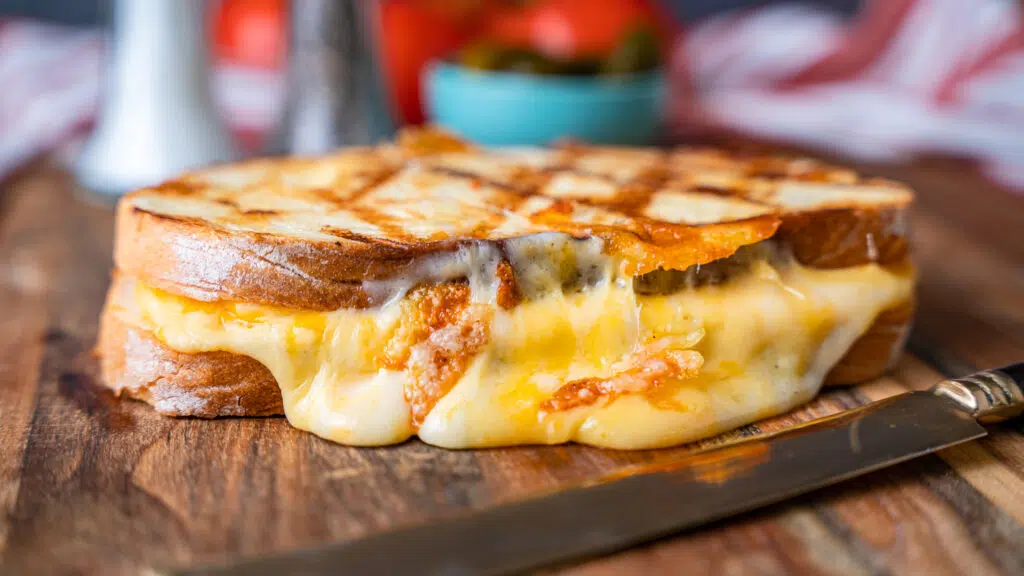
- Transfer. Once the cheese has started to melt and the bread is toasted on the bottom, transfer it to an aluminum pan and continue cooking until the cheese is fully melted.
- Remove and enjoy. Once the cheese is fully melted, remove the sandwich and serve!
Prepping the Grill
Preheat your grill to low heat. Low heat is when you can hold your hand 1 inch over the grate without hurting yourself for 5-8 seconds.
The sandwich assembly hasn’t changed much since you were a kid. Evenly butter the outside of the bread, slice or shred the cheese, and layer it on the nonbuttered side of the bread.
There is some potential for disaster here, so beware. If your grill is too hot, you will burn the bread and have cold cheese.
That said, I strongly suggest having a grilling safe zone on one side of the grill with no coals underneath the grate (if you start to burn the bread or panic, you will place the sandwiches over the safe zone).
Don’t put the sandwiches directly over the flame until you’re sure that you can hold your hand 1 inch over the grate and count to 5-8 seconds. Once you can do this, put the sandwich directly over the fire.
Close the dome and count to 30. After 30 seconds, use a spatula and slowly look under the sandwich to check the bread’s color. You can give it another minute or two if it’s still untoasted. If it’s starting to char after 30 seconds, flip it! I like to count to 30 and then take a look because bread over medium-high heat usually will be nicely toasted after 30 seconds. It’s a good test for bread (Thanks, Bobby Flay, for that tip!).
Pro Tips:
Add your toppings at the last minute before slicing the sandwich. You can add bacon, tomato, jalapenos, or just about anything to a grilled cheese, but make sure you do it at the end.
If you can make one grilled cheese before making a bunch at a time, This will let you know how long it should take, so if there is an issue, you can adjust it so you don’t burn multiple sandwiches at once.
Have a section of the grill turned off so you can pull the grilled cheese and keep it warm while you finish the others or if you have a flare-up to deal with.
Recipe FAQ
This is a highly debated topic. Classic American cheese is always a winner, but I do like something a little more flavorful, like a Monterey Jack. This is great because it also melts exceptionally well. I recommend softer cheeses like Havarti, Swiss, cheddar, or fontina, but avoid hard cheeses like parmesan.
You want to use a thicker bread with a good crust on the outside but soft inside. As an adult, thin wonder bread doesn’t do it for me. I like a nice sourdough or potato bread for my grilled cheese.
Butter has more flavor and leads to a better crust, in my opinion, but mayo burns less and will give the grilled cheese better color on the outside. Both have their pros and cons.
More Recipes You’ll Love
Ham and steak cheese on pretzel rolls
Grilled Cheese on a Grill
Equipment
- Outdoor Grill gas or charcoal
Ingredients
- 2 slices Cheddar Cheese
- 2 slices Swiss cheese
- 2 slices Provolone Cheese
- 2 slices American Cheese
- 2 oz Smoked Gouda
- 1 tbsp Dukes Mayonaise
- 2 slices Artisan Bread Sourdough
Instructions
- Brush Mayo on the the outside of both slices of bread, Layer all four cheese on both slices of bread for (4 slices on each piece of bread
- Light grill to low heat (hold your hand 1 inch over the grate and count to at least 5 comfortably) About 375-400 Degrees F.
- Lay the bread on the grill over direct heat and cook for about 1 minutes then rotate the bread a quarter turn to get grill marks (keep a close eye and make sure the bread doesn't char)
- Once the cheese has started to melt and the bread is toasted on the bottom transfer to aluminum pan and continue cooking until cheese is fully melted
- Once the cheese is completely melted remove the grilled cheese from the pan and assemble the sandwich, slice and enjoy.