Grilled Pizza - Grilled Over Direct Charcoal Heat
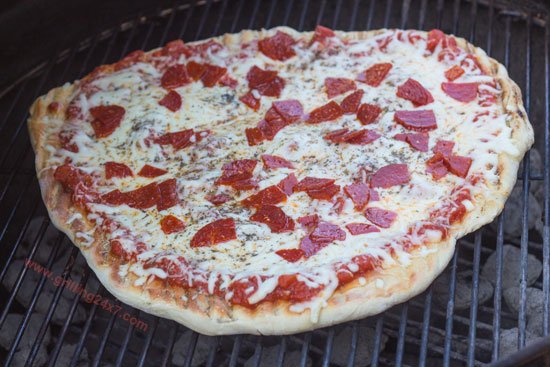
Every friday night is pizza night in my house. I've been making homemade pizzas since 2003! Everyone always asks, "As much as you love grilling why don't you grill a pizza?" Well, the answer is that I never knew how. I read various opinions on how to do it and the majority of people suggest indirect grilling. To me that seemed kind of boring. I'd rather stick to my pizza stone preheated to 550 degrees rather than indirect cook a pizza on a grill.
For the past few months I've been working out the kinks and I finally figured out a way to cook a NY style pizza dough recipe over direct charcoal heat and I love it.
Here's how:
Ingredients:
For the dough:
Bread flour
Salt
Active dry yeast
A pinch of sugar
Olive oil
For the rest of the pizza:
Pizza sauce
Mozzarella Cheese
Toppings
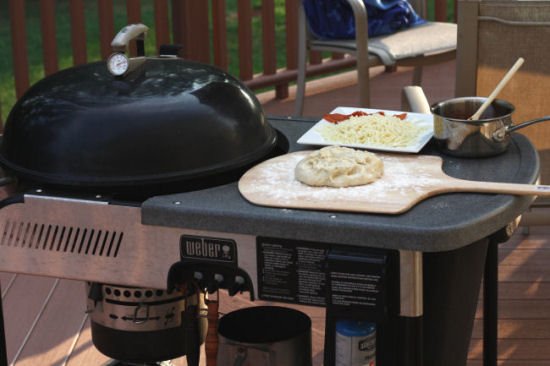
If you aren't comfortable making your own pizza dough call your local pizza shop and ask if you can buy a dough ball. Most of them will let you. Ask for a dough ball that will roughly make a 16 inch pizza so it will fit well on a Weber kettle. If you want to make your own here's the instuctions:
Weigh 225g of warm water in a bowl and add 0.5 tsp of active dry yeast. Add a pinch of sugar and stir around with your finger for a bit. Let this sit for 10 min or until the yeast start bubbling a bit. While you are waiting for the yeast measure 362g of bread flour in a bowl and add 1 and a ¼ tsp of salt to the flour mixture. After the yeast has starting bubbling (releasing some gas) add 1 tsp of oil into the bowl of a stand mixer and pour the yeast/water solution into the mixer's bowl. Slowly mix in ⅓ of your flour mixture until it is incorporated. Then add ½ of the remaining flour, mix it in and then add the remaining flour and mix it for a few seconds. Remember to add the liquids to the stand mixer bowl first and then slowly add the dry ingredients. Switch to your dough hook and knead for about 5 min. Remove the dough and place in an oiled bowl. Cover the bowl with cling wrap and put it in the fridge overnight. Yes, overnight. If you've never made a pizza dough where the fermentation occurs overnight you have to try it. The flavors are just incredible.
If I've confused anyone with the weight measurements above that's ok. You have to measure your baking ingredients by weight and not volume for more consistent results.
With that out of the way let me say that the purpose of this page is to show you how to grill a pizza on a charcoal grill, not how to make a quality pizza dough. If you want assistance on how to make a really good pizza dough check out some of my pizza making videos on You Tube.
The recipe that I'm grilling here is a NY style recipe developed by Tom Lehmann, director of baking assistance at the American Institute for Baking. This recipe will knock your socks off when cooked on a roaring hot pizza stone. However, its pretty darn good on the grill too.
Charcoal Arrangement for Grilling Pizza Directly on the Grate
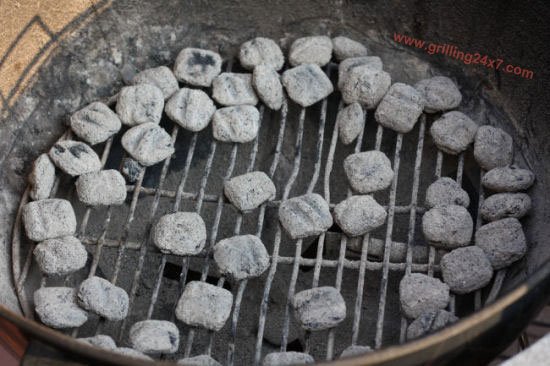
By grilling over direct heat you can burn your pizza if you aren't careful so make sure you have no hotter than a medium heat. What I've come up with is an arrangement of coals which puts a couple of coals right under the middle of the pizza (which tends to be the thin easy to burn area of the dough) and a circle of coals centered right under the "rim" or crust of the pizza, which tends to be thicker. This arrangement will help minimize the chances of burning your pizza while ensuring you have a charred crispy rim. It works well if you keep about 5-6 coals in the center, with the remaining coals arranged around the edge (about 50 coals total, aim for a 350-400 degree dome temp).
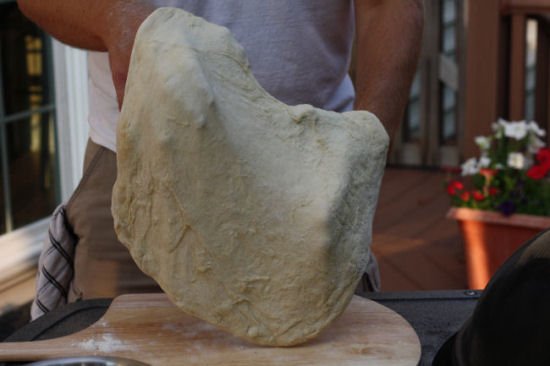
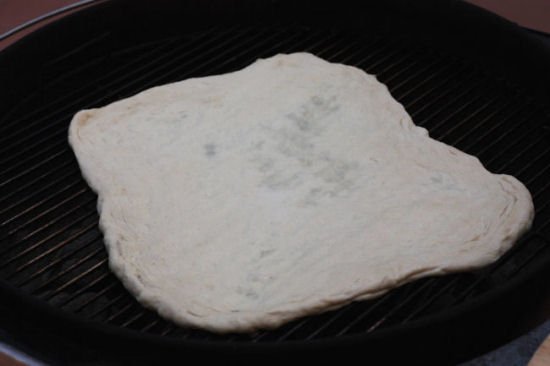
The weber performer comes in handy here because you can work your dough right on the attached side table. To be honest, it takes some work to be able to handle a dough comfortably. I carefully work the dough outward making very sure not to stretch the dough too thin. Once the dough is about 16 inches in diameter toss it right in the center of your grill. The game plan is to grill the bottom of the dough, flip it over, dress it and let the bottom of the dough cook while melting the cheese.
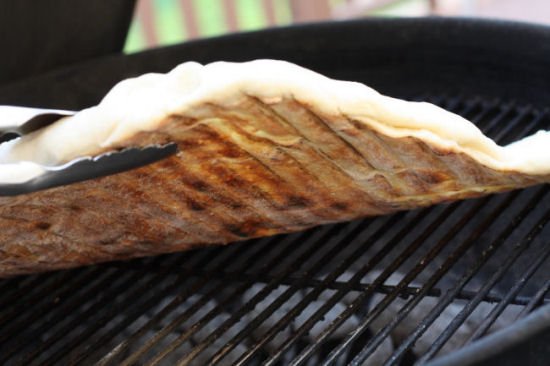
Depending on your temperature the dough should take about 5-10 minutes until it looks like the following picture on the bottom. I used a pair of tongs to take a peek underneath.
As soon as you flip the dough over start adding the pizza sauce, cheese and any toppings you want. My favorite is pepperoni.
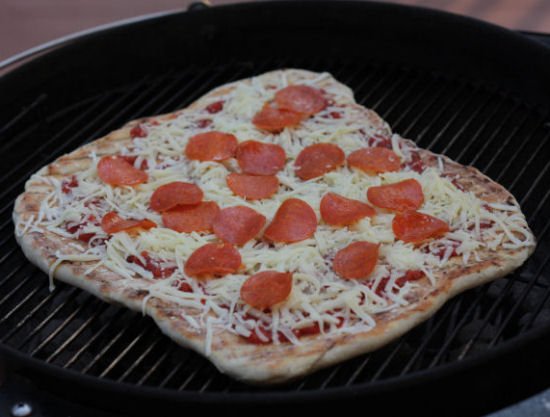
To get the pizza finished it will take another 5-10 minutes but keep peeking underneath of the dough to make sure that you haven't burnt it too badly. Keep the lid closed with all vents open!
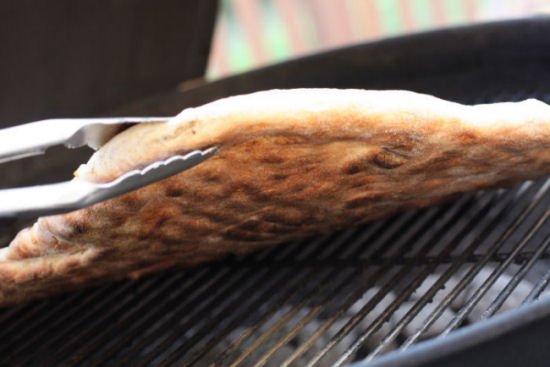
After the dough is lightly charred and the toppings are melted to your liking add some fresh basil if you have it. I am lucky enough to have a pretty decent basil plant in my garden so I make use of it all the time.
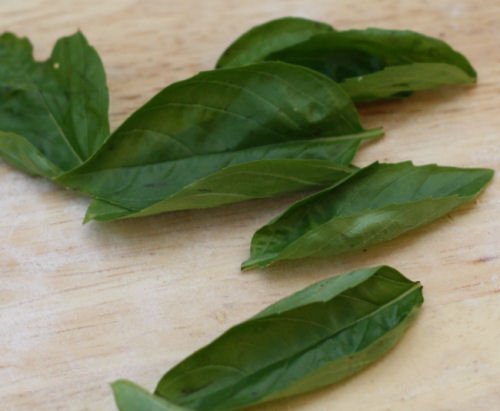
The following two pictures are of the finished product. It is really tasty. The pizza has a crisp dough which has a nice smokey charred flavor. When you use a pizza cutter on this pizza you hear "crrruuuunnch" as the cutter cuts through the dough. Nice and crispy. It can rival any wood fired pizza you can buy!
Interestingly, if you use this pizza dough recipe on a roaring hot pizza stone in your oven it will be a soft and floppy NY style pizza that tastes like it came right off the streets of NY city. However, the high heat from the grill, which is not in direct contact with the pizza, causes it to be crispy, which in my opinion is a good thing here!
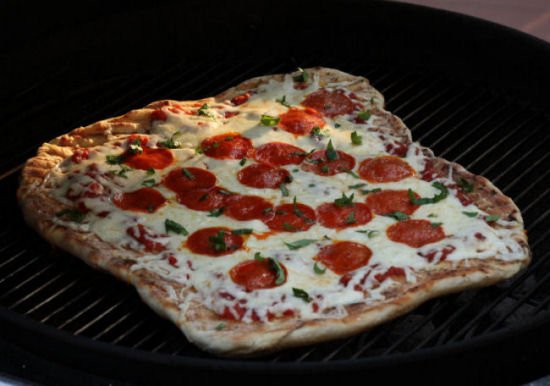
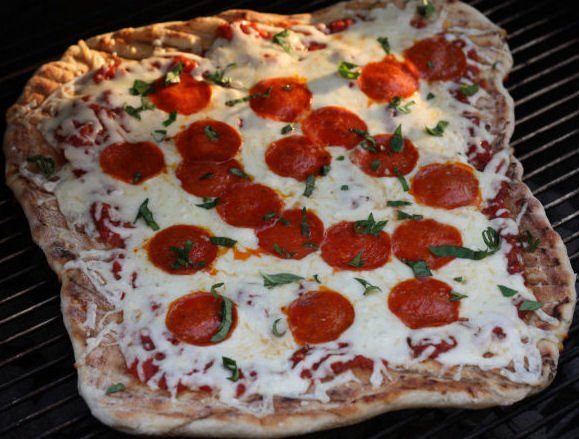
Outstanding grilled NY style pizza!!!! Now, normally NY style pizza has the floppy crust, but on the grates, that isn't possible. Still, this is some fantastic pizza.
Want more grilled pizza?
Check out this BBQ Pulled Pork Pizza Recipe!

Myron
Great pizza dough! It was a total success!
I didn't grill the pizza, but baked it as you showed to another post. It was the best and easiest pizza I have ever made on my kettle grill.
Thanks
Myron
Greece