Homemade Batter Rolls – Perfect Side Dish to Grilled Turkey
What?! A grilling blog with a baking recipe?
The following recipe came from Mrs. Grilling24x7’s grandmother. She handed down a fantastic family batter roll recipe. I’ve spent the last few years trying to master the recipe and I think finally have it down. This recipe has stolen the show at many Thanksgiving and Easter dinners. It is a light and fluffy roll with a nice butter flavor. If you are going to spend the time to grill or fry a turkey for Thanksgiving or another holiday it’s wise to also serve a really amazing roll as a side. The store bought rolls just aren’t good enough!
Salted butter for serving.
Step By Step Instructions for Homemade Dinner Rolls
First things first let’s go over the general order of operations. This is pretty involved, but well worth it. After you do it a few times it’s very easy. Let’s go!!
Measure 1/2 cup of warm water (not too hot, about 110 degrees if you want to measure). Put 3 tsp active dry yeast into the cup and swirl it around with your finger. Sprinkle some sugar in there as well to get the yeast going. Yeast like sugar and they like it warm, so this will get the yeast ready for work in your batter.
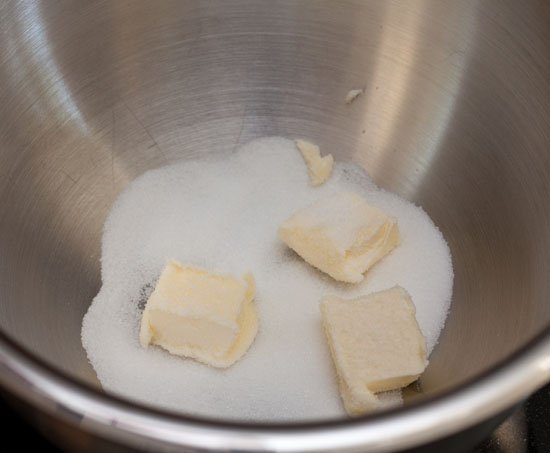
While the yeast is “proofing” put the butter, salt and sugar in a good sized bowl.
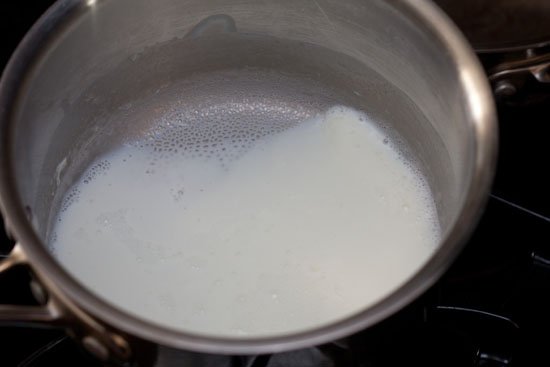
Put a sauce pan on medium/medium high heat and pour the milk in. Keep stirring it until it starts to stick a bit to the bottom and sides. Don’t let it boil or burn just get it hot. This is called scalding the milk. After a few times of making this recipe you will easily recognize when the milk is ready. To check, just tilt the sauce pan on the side a little bit and see how the milk coats the bottom. Once the milk has coated the bottom of the pan and very slightly starts to bubble around the edge, it is done.
Ingredient Tips
Pour the hot milk right into the bowl with the sugar, butter and salt. Swirl it around to fully melt the butter. Let this hot mixture cool. Do not add the yeast just yet or you’ll kill them.
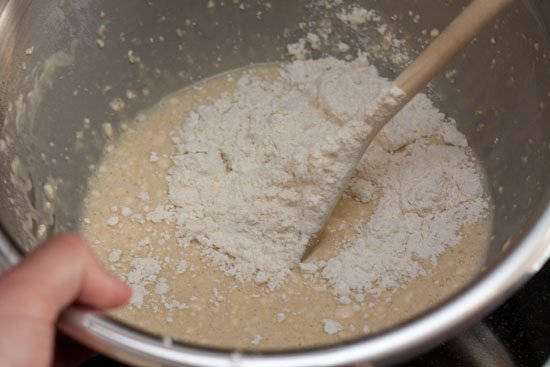
Once the mixture has cooled a bit, add the yeast in and stir things around. Add the egg and a half cup of flour. Stir. After the flour is added in, add another 1/2 cup of flour. Keep stirring and adding a 1/2 cup of flour until the mixture is smooth and all the flour is incorporated.
My house is pretty cold so I boiled some water in a measuring cup and put it in a cold oven. I covered the bowl with a warm and damp towel and let it sit for about three hours.
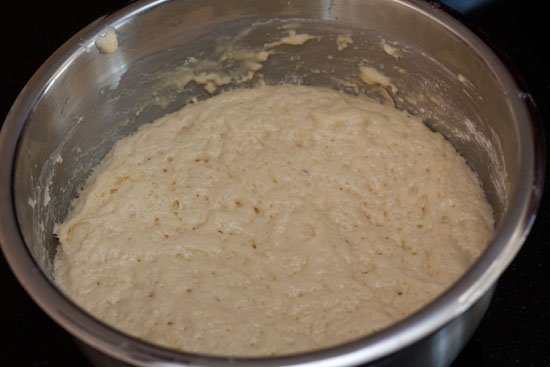
After three hours the batter had doubled in size! Punch it down!!
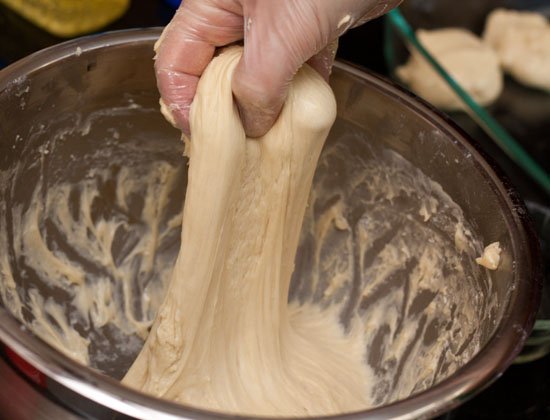
Take some cooking spray or oil and cover your hands with it. I used gloves so I could easily take them off to snap some photos. Oil and cameras don’t work well together! Grab a small bit of dough and arrange it on a greased glass casserole dish.
2014 Update
2014 update – Don’t just grab a small bit of dough and plop it on the casserole dish. Read note below about how to properly form the roll at this stage by stretching out the top of the dough ball while sealing the bottom. The top of the roll needs to be stretched and made smooth to help with a nice even rise. Shape the rolls and stretch the top of the dough ball while simultaneously sealing the bottom. It’s almost like a stretch/roll technique.
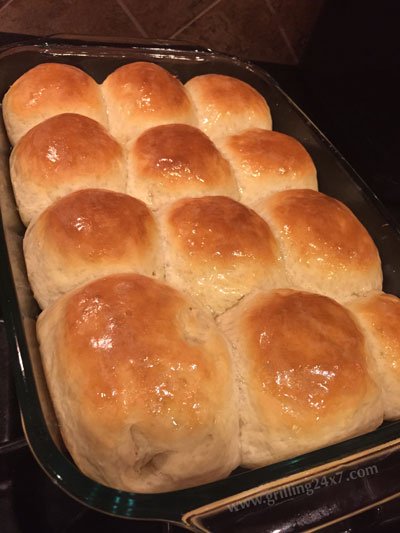
Arrange the shaped rolls neatly and evenly in the glass dish. Cover this dish and allow it to rise until the rolls are big. The rolls do not rise in the oven when they are cooking so let them rise.
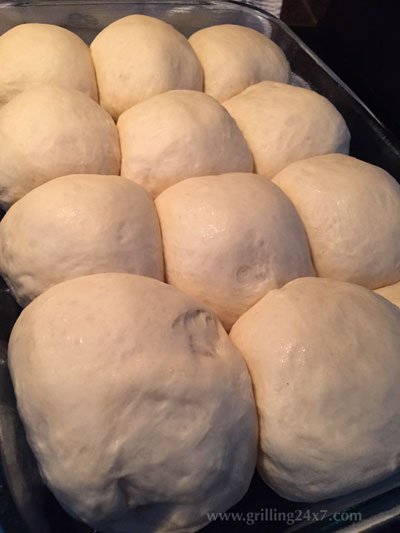
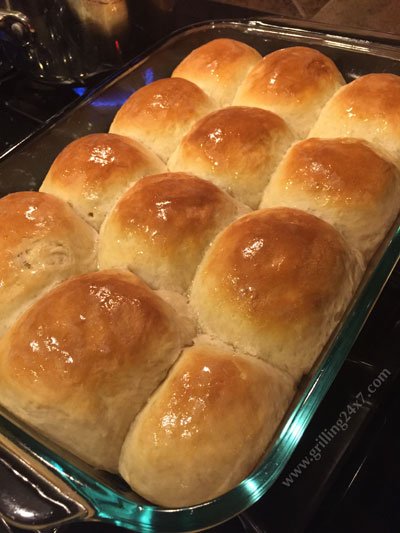
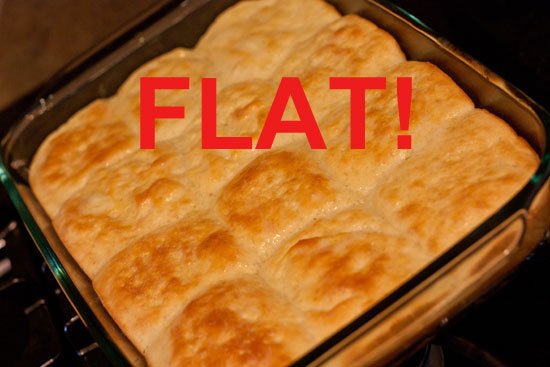
After a second 3 hour rise, the rolls should look like this (above). The rolls will look like this if you have formed them correctly before the second rise. If not, they will be flat, without a rounded top.
Baking Instructions
Bake the rolls in a 400 degree oven for about 16-17 minutes until they are browned on top. As soon as they come out of the oven rub the top with salted butter. Use a knife to cut the rolls out. See the difference between the properly formed rolls and the flat rolls? Still the same great taste, but a different look and feel.
Wow, there you have it. Some fantastic rolls to accompany your work of art turkey! I just love slicing these rolls in half, coating them with butter, laying a slice of fried turkey on there (with skin) and topping it with cranberry sauce! Hot damn!
Updated Tips and Notes
2014 Update: I’ve learned a lot about baking breads in the past two years since this post was originally written in 2012. In addition to reading about kneading and roll forming techniques, I was watching my mother in law make these rolls and I noticed that I wasn’t initially forming the rolls correctly. After the first rise, I previously was pulling them by hand and only plopping them onto a greased casserole dish. This is wrong and is not appropriate roll forming technique.
The correct way to do this is to pull a bit of the batter and then as you shape the roll you want to stretch the top of the dough ball while sealing it and pulling it on the bottom. The stretching sort of creates a “skin” on the top of the roll which will help with oven rise and roll expansion. Here is a link to a nice description of how to shape dinner rolls, if you have trouble.
Homemade Batter Rolls; Perfect Side Dish to Grilled Turkey
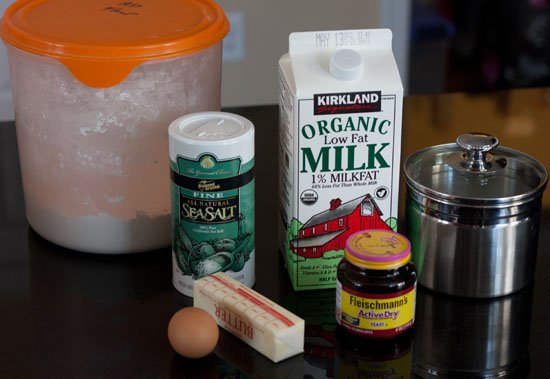
Ingredients
- 3/4 cup milk
- 1/4 cup sugar
- 1 tsp salt
- 1/4 cup unsalted butter
- 1/2 cup warm water warm to the touch at about 110 degrees F
- 3 tsp active dry yeast
- 1 egg
- 3.5 cups flour spooned into the measuring cup and leveled with the back of a knife
- Salted butter for serving.
Instructions
- The dry yeast will go into the water until it starts to bubble.
- At the same time you’ll be scalding milk in a pan.
- While the milk is scalding and the yeast is “breathing” grab another bowl and put the butter, salt and sugar in.
- When the milk is finished the scalding process it will be poured over the butter, salt and sugar mix and the yeast will then be added in after the butter has melted and the mix is cool.
- An egg is then added.
- Gradually flour is added (about 1/2 cup at a time) until a moist and sticky batter is formed.
- This batter will rise for a couple of hours until it doubles in size.
- After the first rise the batter will be punched down and rolls are formed.
- The rolls are covered and then rise again for another 2-3 hours and are then baked.
Hey, I’m glad you posted this! My mom made these when we were kids. She got the recipe from a friend, in the 70″s, and called them “Batter Rolls”. Over the years I evolved it into more of a standard bread-dough type roll recipe, and it is a family favorite. I was a little sad I lost the original recipe though; it is different. My brother asked about the original, I tried searching again, and found yours. I believe it to be a cousin to my childhood recipe. I’m going to make the batter rolls sometime for nostalgia, I recall them being really good. Makes me curious about the ancestry of the recipe though. I think we got it originally from someone in North Alabama, but it could have started from anywhere, because so many people moved here from everywhere, starting in the 60’s. Thanks for the nostalgia!