Homemade Hot Dog Rolls
Homemade Hot Dog Buns
I’ve spent a good bit of time searching for homemade roll recipes that satisfy two requirements. 1. Must be amazing. 2. Must be relatively easy. So I ended up with this recipe. It’s a little involved but not too bad considering the quality product you’ll be making. These rolls are buttery and soft while also having just a little bit of strength to the roll. You don’t want to be biting into a rock. But you also don’t want the roll to fall apart. So here we have it – a homemade hotdog bun recipe that is my new favorite.
Ingredients (for 10 hotdog sized rolls):
1/2 stick unsalted butter (softened to room temperature)
1 cup of warm milk (warm to the touch)
1 packet of active dry yeast (or 2 1/2 tsp if you have a jar)
1/4 cup white sugar
1 tsp salt
1 egg
3 cups of flour + more if the dough is still wet after mixing
Poppy seeds
Egg wash (1 additional egg plus 1 or 2 tsp water)
Parchment paper
Oil for the bowl
Let’s summarize the steps before diving in. There are 4 steps to making these rolls: 1. Mix ingredients to form a dough. 2. Let dough rise for 1.5 hours. 3. Shape dough into rolls and let rise again for 45 min. 4. Bake. That’s not too bad, right? From start to finish this should take about 3 or so hours. Most of the time is waiting for the dough to rise. If you want to run to the store during the first rise, that’s ok. You can extend it to 2 hours. No problem. There is some flexibility here.
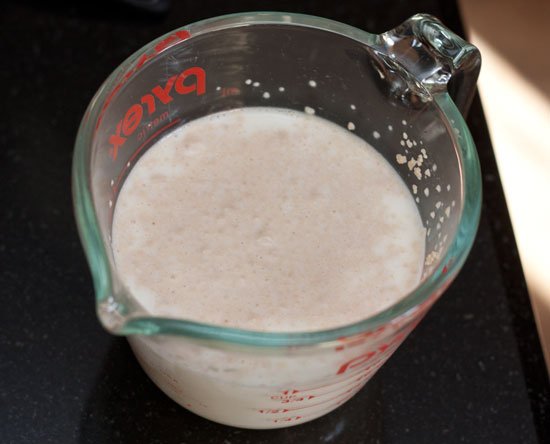
I microwave the milk for a little bit to get it warm. Note that I say warm not hot. Hot will kill yeast but warm will make them happy. If you want to drop a thermometer into the milk aim for about 110 degrees F. No higher. Add the 2.5 tsp active dry yeast into the milk and swirl it around well. This step wakes the yeast up a bit and rehydrates them. Let this mix sit until you start to see a few bubbles come up. It’s hard to see when you do this in milk as opposed to the normal rehydration in water but you should at least see a couple of bubbles in the middle. If you don’t see bubbles you may want to try again with new yeast. The yeast may not be alive.
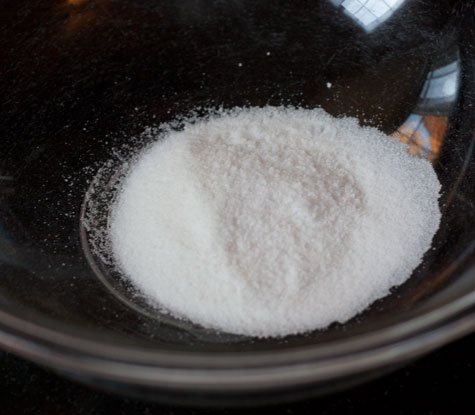
Next mix the sugar and salt into a large mixing bowl. When you see bubbles in your milk pour it into the salt and sugar mixture. Mix well.
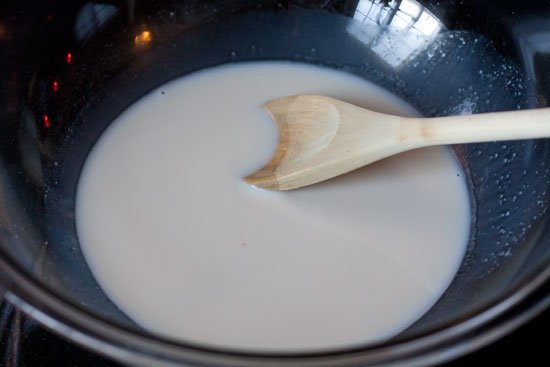
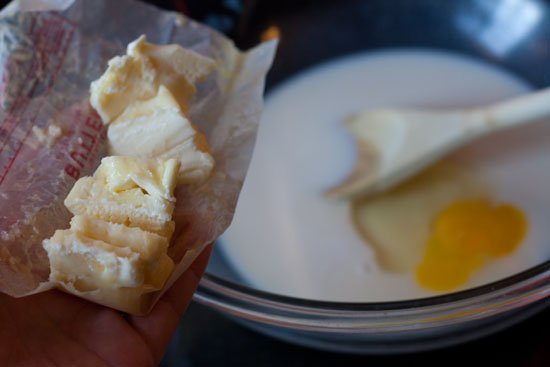
Crack your egg right into this mixture and then add the half stick of butter into the mix. Make sure that butter is soft and mushy. It must be room temperature.
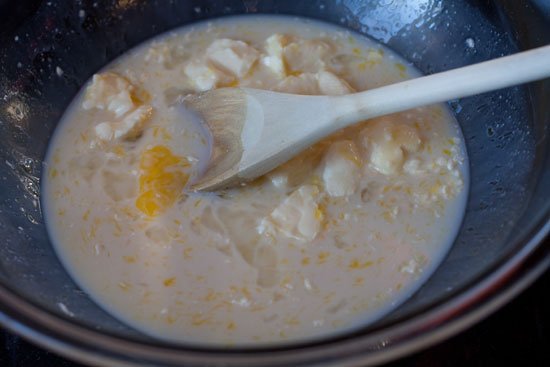
Mix well. The butter will not completely dissolve and that’s ok.
Add 1 cup of flour and mix.
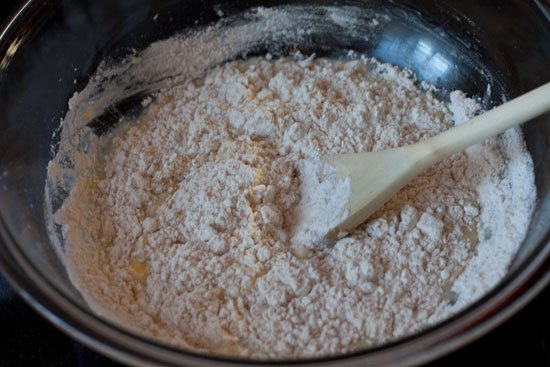
Keep mixing until it’s smooth.
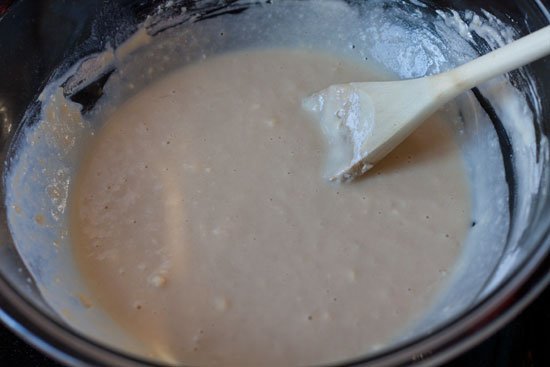
Add the second cup of flour and mix. It should be getting a little thicker.
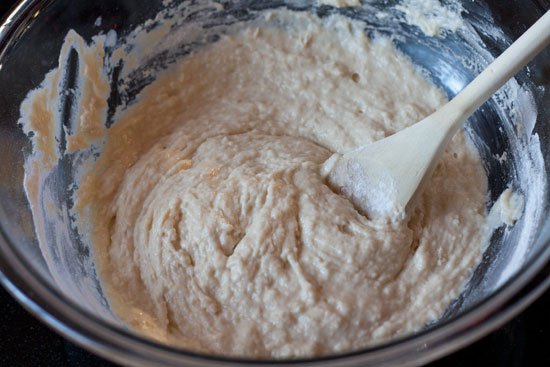
Add the third cup of flour and mix. Now a dough will form. Keep mixing until it really starts to stick together and come off the sides of the bowl.
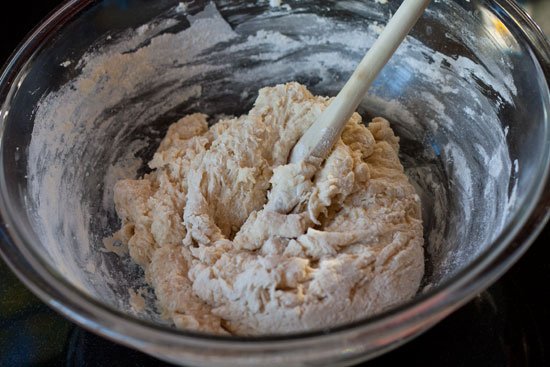
Pick up the dough and put it on a floured surface. At this time grab another 1/2 cup of flour. You’ll need it when you are working with the dough because you should be seeing that it’s pretty wet at this point.
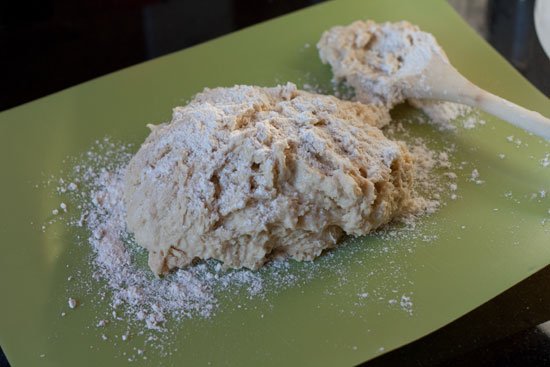
Next knead the dough. Basically this involves pushing down on the dough and then folding the sides in. Pushing down again and then folding the sides in. If you are confused at this step google “dough kneading” to get more familiar with it. It’s not too complicated but you’ll need to do this for at least 5 minutes. You’ll notice the dough get much firmer as you knead. You’re developing gluten throughout the dough which helps form the structure that captures the yeast’s carbon dioxide release allowing the dough to rise well.

In another large mixing bowl pour a little bit of oil (extra virgin is fine) and rub it all around. Coat the dough ball with the oil and lightly cover with cling wrap.
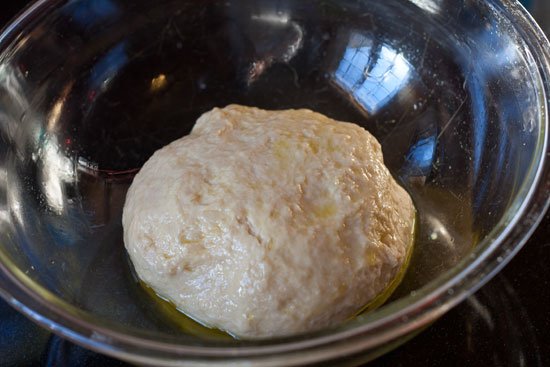
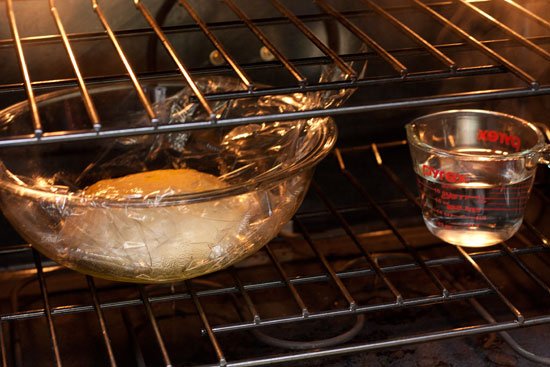
It was quite chilly in my house so I put the covered dough into the oven (turned OFF of course) and sat a cup of boiling steaming water inside. This warms up the oven and provides some humidity. In the hot summer this isn’t necessary but it was cold and drafty in my house on this day.
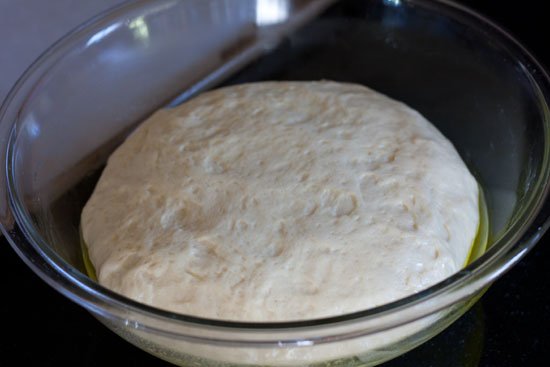
After an hour and a half your dough should look like this. This has doubled in size.
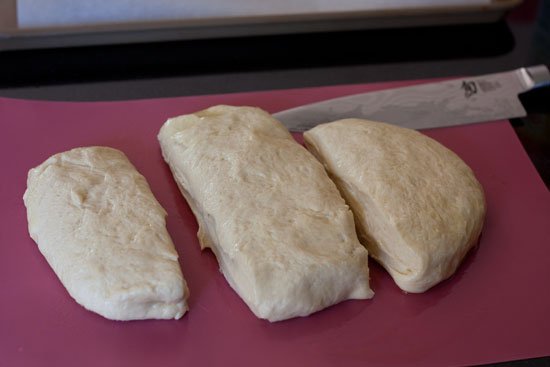
So at this point 2 of the 4 steps are done. All we have to do now is to form the rolls and let them rise. Then bake. Easy! Pull the dough ball out and lay it on a clean surface. Lightly press and form it into a rectangular shape. You’ll notice that the gas will release from the dough. That’s ok, they will rise again. Cut this dough into three slices as shown below.
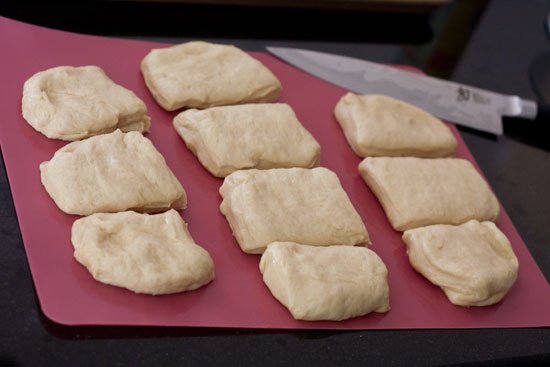
Then make cuts to allow for 10 rolls. If the middle piece is the biggest (like mine was) cut four rolls out of this one. The smaller edges can be cut into three.
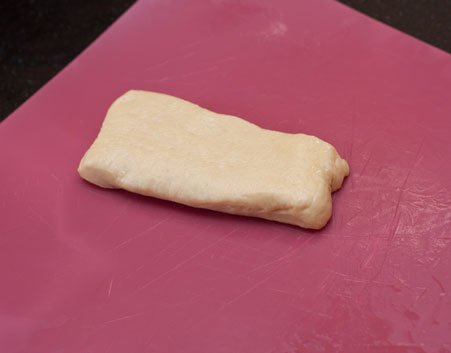
Grab one of the rolls and make it a rectangle that is about 4.5 inches long.
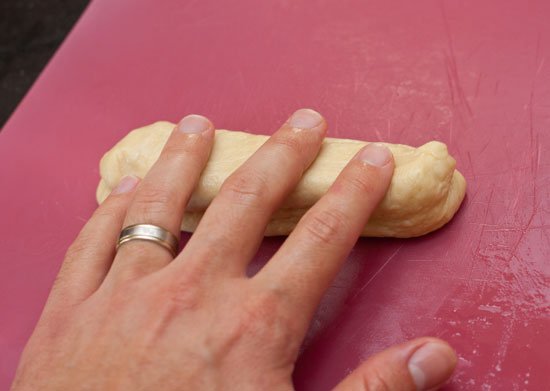
Carefully roll and manipulate the dough into a cylinder with your hand. It’s ok if the roll doesn’t look too pretty.
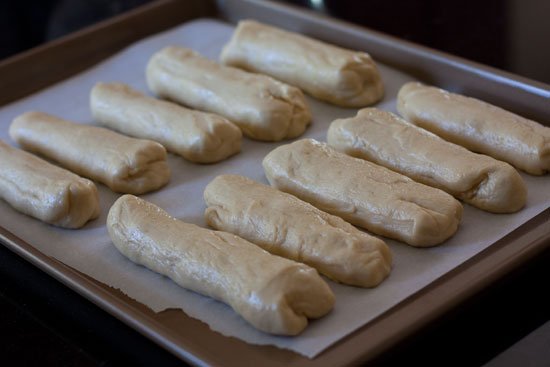
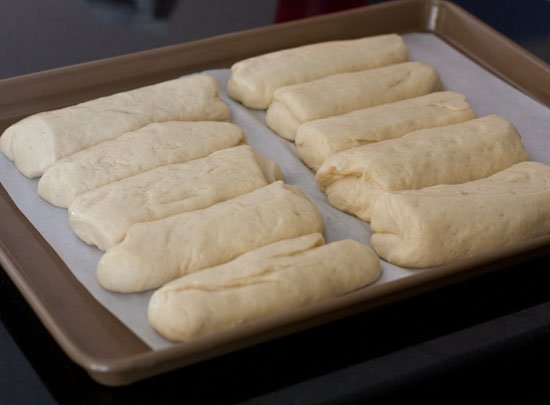
Line a baking pan with some parchment paper and lay the rolls close to each other without touching. They will be touching after they rise so try to leave a little space in between when you line them up.
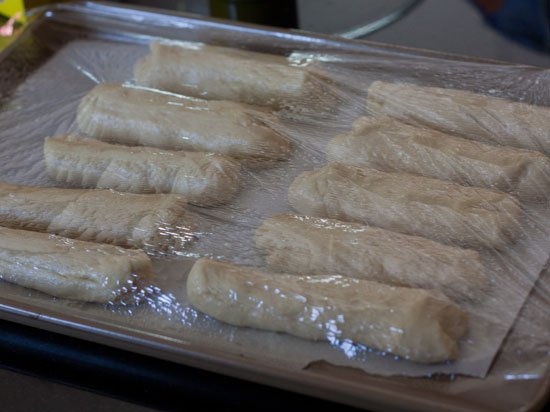
Cover this baking sheet with cling wrap and allow it to sit in a warm draft free location for another 45 minutes or so. The goal here is to get the rolls to rise and increase their size.
After 45 minutes they should look like this.
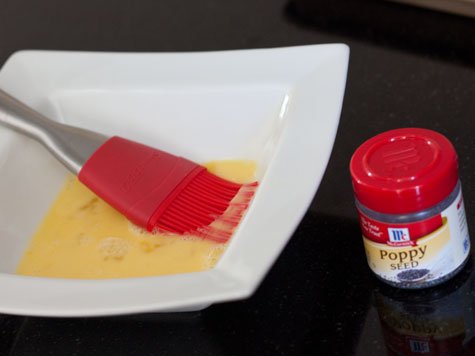
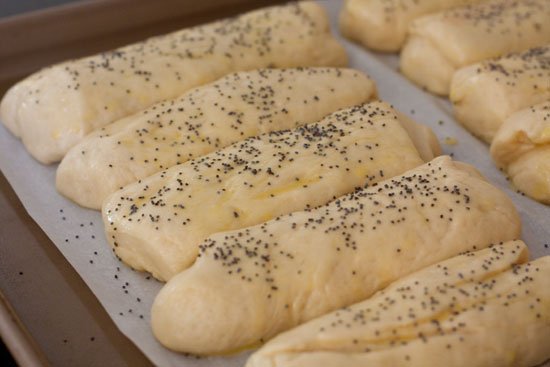
The next step is optional. It simply involves brushing the rolls with an egg wash. The egg wash helps the rolls get a beautiful golden brown and also helps the poppy seeds stick. So crack an egg into a bowl and add a little water (1-2 tsp). Get a brush and brush the tops of the rolls. Sprinkle the poppy seeds on top.
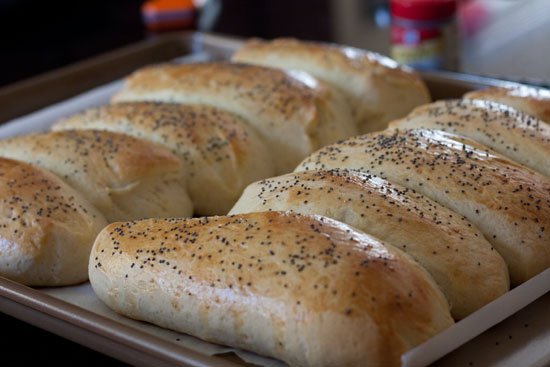
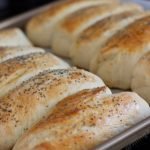
Bake the rolls at 400 degrees for about 15 minutes. If you want to stick a thermometer into the rolls you’ll know they are done when they reach 200 degrees F. Alternatively you can just pull them out of the oven when they look dark golden brown and are a bit firm to the touch.
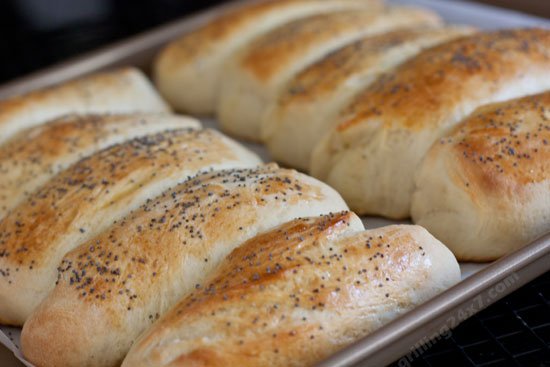
Let the rolls cool off a bit. Carefully slice them in half. I had the best luck when I sliced them down the top. The bottom of the roll gets firm from sitting on the baking sheet and provides some good bottom support. Clearly you can cut it anyway you like. The photo below shows the roll cut down the top.

These homemade hotdog buns are fantastic. They are soft yet a little firm on the outside and have a great buttery flavor. Homemade bread is just amazing and these rolls are just that. The above hotdog was incredible with plain mustard on top. You taste the homemade roll, the great all beef dog, and a spice from the little mustard. This is the way to do it!
Next week I’ll post how to use these homemade hotdog rolls for making an authentic Chicago hotdog.
This Homemade Hot Dog Rolls recipe was modified from a recipe posted on the My Kitchen Addiction blog.
Homemade Hot Dog Rolls
Ingredients
- 1/2 stick unsalted butter softened to room temperature
- 1 cup of warm milk warm to the touch
- 1 packet of active dry yeast or 2 1/2 tsp if you have a jar
- 1/4 cup white sugar
- 1 tsp salt
- 1 egg
- 3 cups of flour + more if the dough is still wet after mixing
- Poppy seeds
- Egg wash 1 additional egg plus 1 or 2 tsp water
- Parchment paper
- Oil for the bowl
Instructions
- It's best to read the actual blog post and see all the step by step photos. In summary: There are 4 steps to making these rolls: 1. Mix ingredients to form a dough. 2. Let dough rise for 1.5 hours. 3. Shape dough into rolls and let rise again for 45 min. 4. Bake. That's not too bad, right? From start to finish this should take about 3 or so hours. Most of the time is waiting for the dough to rise. If you want to run to the store during the first rise, that's ok. You can extend it to 2 hours. No problem.
Do you think this recipe would work using the fancy New England hotdog bun pan? I got this pan for Christmas the first buns did not turn out very well . i would like to have a recipe down in time for spring 🙂
I’m not familiar with that pan but it can’t hurt to try. Or just skip the pan and do it the way I did. Once you get the technique down, it’s pretty easy.